> ## Documentation Index
> Fetch the complete documentation index at: https://portkey-docs-feature-comparison-update.mintlify.site/llms.txt
> Use this file to discover all available pages before exploring further.
# Quickstart
> Add DeepWiki to Portkey MCP Gateway and connect it to Claude.
This quickstart covers:
1. Adding the DeepWiki MCP server to your organization's MCP Registry
2. Getting your MCP connection URL from your workspace
3. Using the URL in Claude (Desktop / Code) via MCP configuration
**Who does what:** MCP integrations can be added by **org admin and members**. The MCP server can be used by **workspace admin, manager, and members**.
***
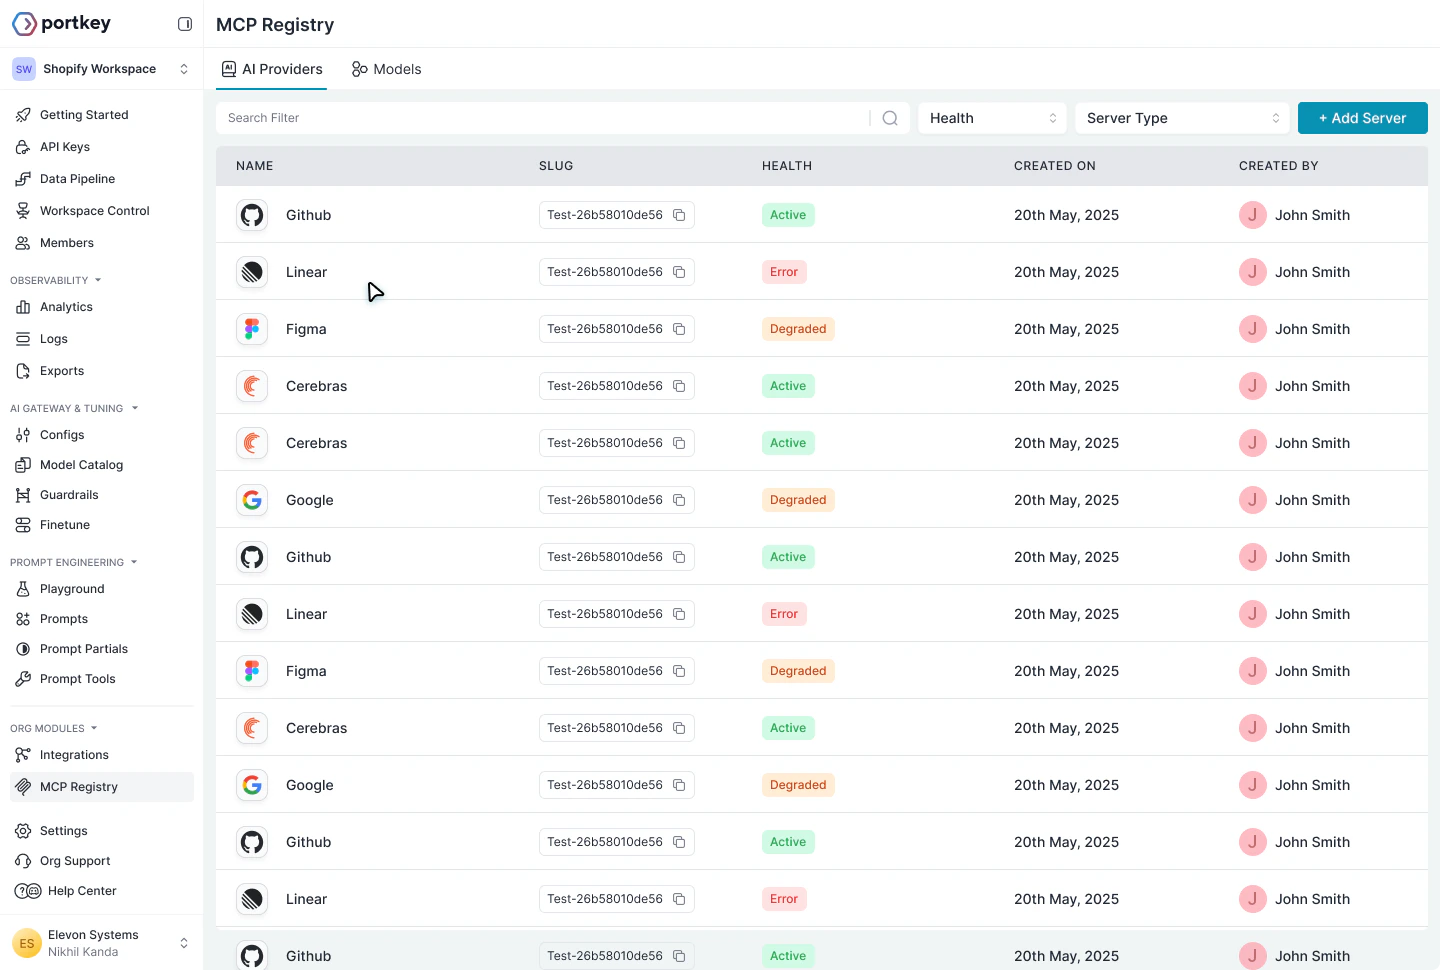
## 1) Add DeepWiki to MCP Registry
Go to **MCP Registry** in your org settings, then click **Add Server**.
 Enter the following:
| Field | Value |
| --------------------- | -------------------------------------- |
| **Name** | `deepwiki-test-mcp-server` |
| **Short Description** | A short note about the MCP Integration |
| **URL** | `https://mcp.deepwiki.com/mcp` |
| **Slug** | `deepwiki-test-mcp-server` |
| **Server Type** | Http |
| **Auth Type** | None |
DeepWiki is a public MCP server that doesn't require authentication, so set **Auth Type** to `None`. Learn more about [DeepWiki MCP](https://docs.devin.ai/work-with-devin/deepwiki-mcp).
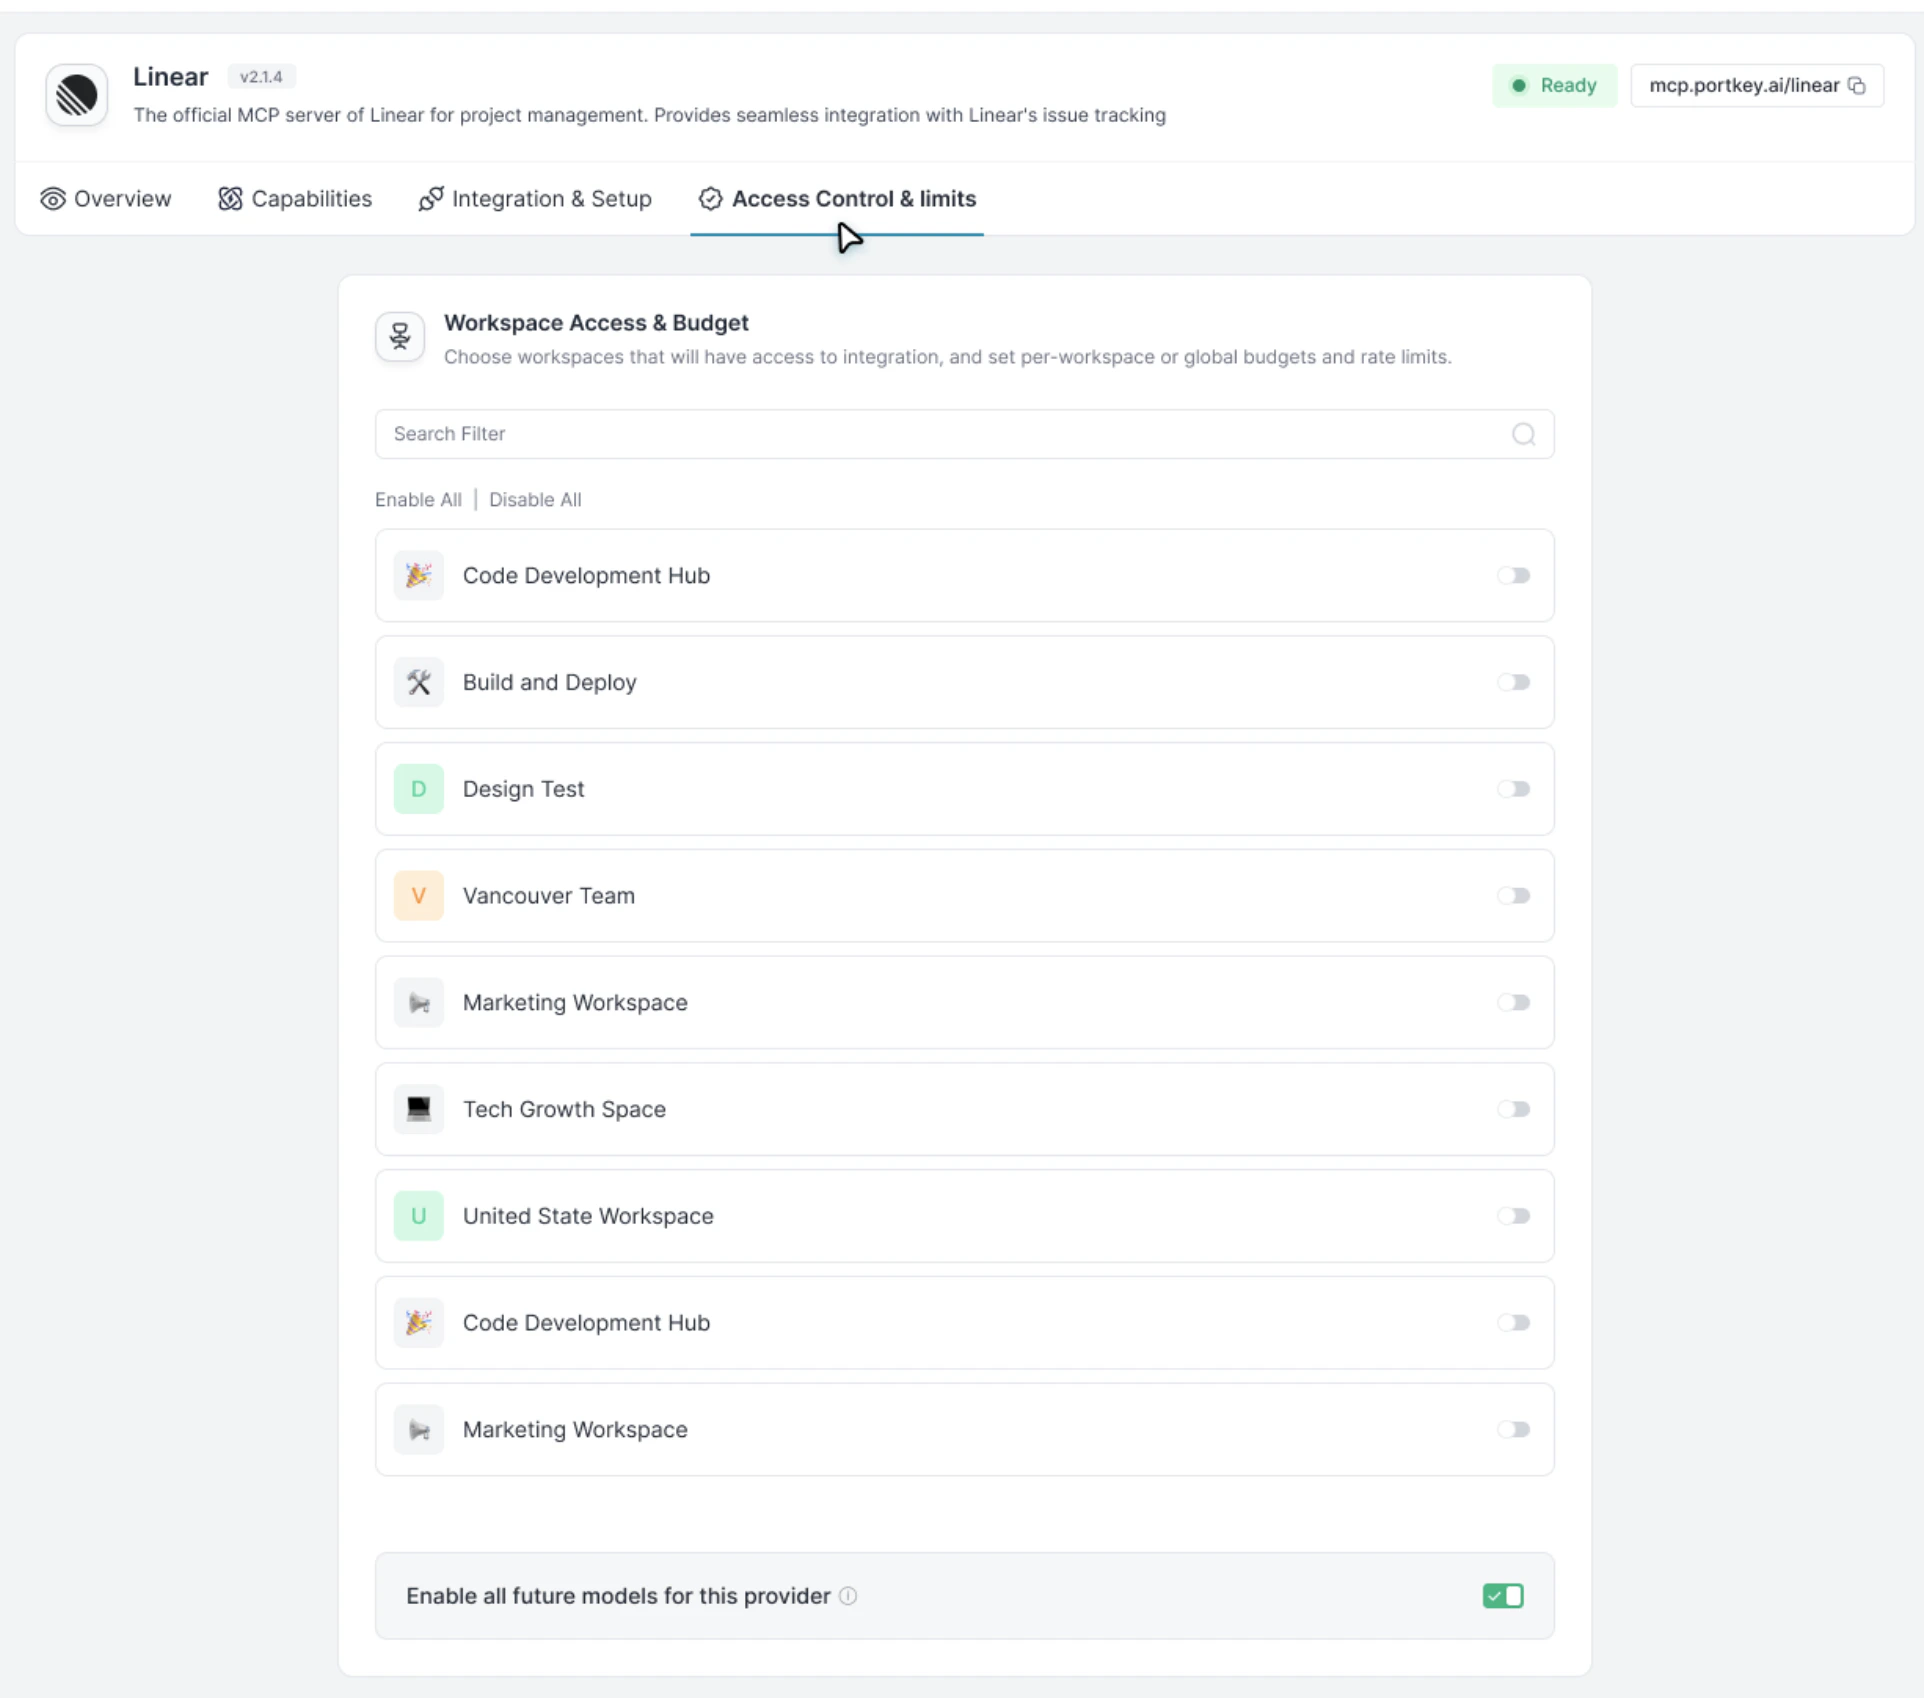
The form includes **Workspace Provisioning** settings. Select the workspace(s) that should have access to this MCP server.
Enter the following:
| Field | Value |
| --------------------- | -------------------------------------- |
| **Name** | `deepwiki-test-mcp-server` |
| **Short Description** | A short note about the MCP Integration |
| **URL** | `https://mcp.deepwiki.com/mcp` |
| **Slug** | `deepwiki-test-mcp-server` |
| **Server Type** | Http |
| **Auth Type** | None |
DeepWiki is a public MCP server that doesn't require authentication, so set **Auth Type** to `None`. Learn more about [DeepWiki MCP](https://docs.devin.ai/work-with-devin/deepwiki-mcp).
The form includes **Workspace Provisioning** settings. Select the workspace(s) that should have access to this MCP server.
 Click **Test Connection**, then **Add Server**.
***
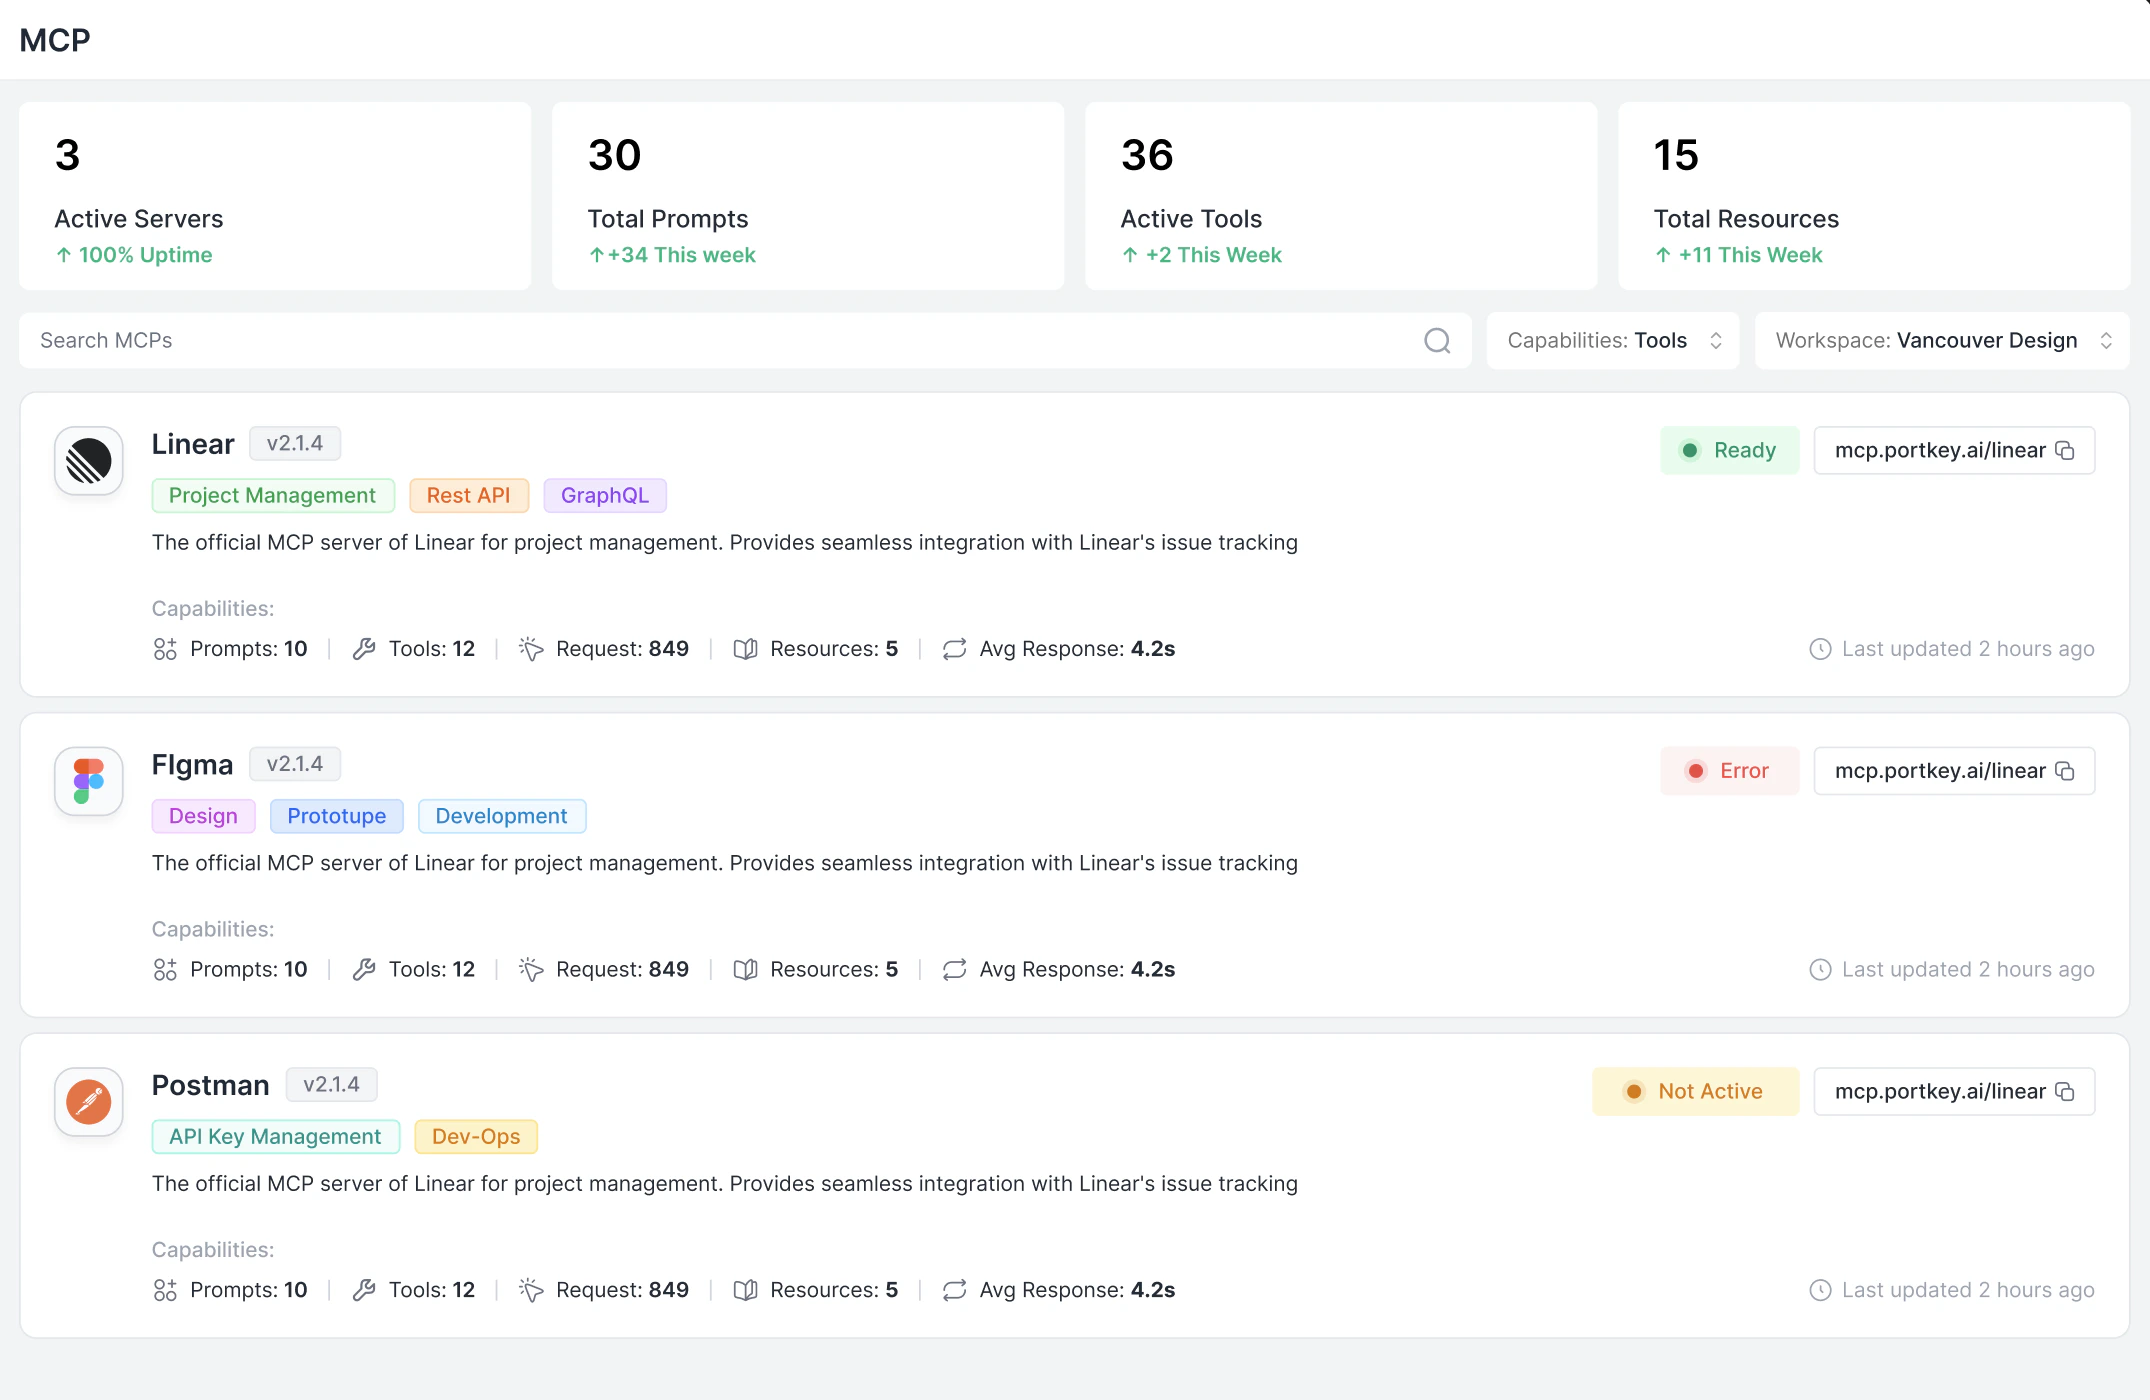
## 2) Get Your Connection URL
Once enabled, go to the **MCP** page in your workspace sidebar and copy the DeepWiki connection URL.
Click **Test Connection**, then **Add Server**.
***
## 2) Get Your Connection URL
Once enabled, go to the **MCP** page in your workspace sidebar and copy the DeepWiki connection URL.
 The URL will look like:
```
https://mcp.portkey.ai/deepwiki-test-mcp-server/mcp
```
***
## 3) Use the URL in Claude (Desktop / Code)
Add a new MCP server that points to the Portkey URL. You have two authentication options:
The simplest setup—just the URL, no credentials to manage:
```json theme={null}
{
"mcpServers": {
"deepwiki": {
"url": "https://mcp.portkey.ai/deepwiki-test-mcp-server/mcp"
}
}
}
```
On first use, Claude will prompt you to authenticate with Portkey via OAuth 2.1. After you log in, your session is stored and refreshed automatically.
**Best for:** Interactive use in Claude Desktop, Cursor, or VS Code. No API keys to create, rotate, or accidentally leak.
For programmatic access or when you prefer explicit credentials:
```json theme={null}
{
"mcpServers": {
"deepwiki": {
"url": "https://mcp.portkey.ai/deepwiki-test-mcp-server/mcp",
"headers": {
"x-portkey-api-key": ""
}
}
}
}
```
Get your Portkey API key at [app.portkey.ai/api-keys](https://app.portkey.ai/api-keys). Use a **workspace user API key** with **`mcp invoke`** permissions.
When creating your workspace API key, ensure it has **MCP Invoke** permissions enabled.
Only **user API keys** work with MCP Gateway. Service API keys are not supported.
**Best for:** CI/CD pipelines, backend services, or automated agents where interactive OAuth isn't possible.
Even though DeepWiki doesn't require authentication to the upstream server, you still need to authenticate with Portkey (via OAuth or API key) to access the server through the gateway.
***
## Next Steps
Add internal and external MCP servers, configure authentication, and control access.
Connect MCP clients like Cursor, VS Code, Claude Desktop, or build your own integration.
Control which teams and users can access which MCP servers and tools.
Monitor and debug MCP tool calls with full context and logs.
The URL will look like:
```
https://mcp.portkey.ai/deepwiki-test-mcp-server/mcp
```
***
## 3) Use the URL in Claude (Desktop / Code)
Add a new MCP server that points to the Portkey URL. You have two authentication options:
The simplest setup—just the URL, no credentials to manage:
```json theme={null}
{
"mcpServers": {
"deepwiki": {
"url": "https://mcp.portkey.ai/deepwiki-test-mcp-server/mcp"
}
}
}
```
On first use, Claude will prompt you to authenticate with Portkey via OAuth 2.1. After you log in, your session is stored and refreshed automatically.
**Best for:** Interactive use in Claude Desktop, Cursor, or VS Code. No API keys to create, rotate, or accidentally leak.
For programmatic access or when you prefer explicit credentials:
```json theme={null}
{
"mcpServers": {
"deepwiki": {
"url": "https://mcp.portkey.ai/deepwiki-test-mcp-server/mcp",
"headers": {
"x-portkey-api-key": ""
}
}
}
}
```
Get your Portkey API key at [app.portkey.ai/api-keys](https://app.portkey.ai/api-keys). Use a **workspace user API key** with **`mcp invoke`** permissions.
When creating your workspace API key, ensure it has **MCP Invoke** permissions enabled.
Only **user API keys** work with MCP Gateway. Service API keys are not supported.
**Best for:** CI/CD pipelines, backend services, or automated agents where interactive OAuth isn't possible.
Even though DeepWiki doesn't require authentication to the upstream server, you still need to authenticate with Portkey (via OAuth or API key) to access the server through the gateway.
***
## Next Steps
Add internal and external MCP servers, configure authentication, and control access.
Connect MCP clients like Cursor, VS Code, Claude Desktop, or build your own integration.
Control which teams and users can access which MCP servers and tools.
Monitor and debug MCP tool calls with full context and logs.